How Much PSI to Clean Brick? A Practical Guide
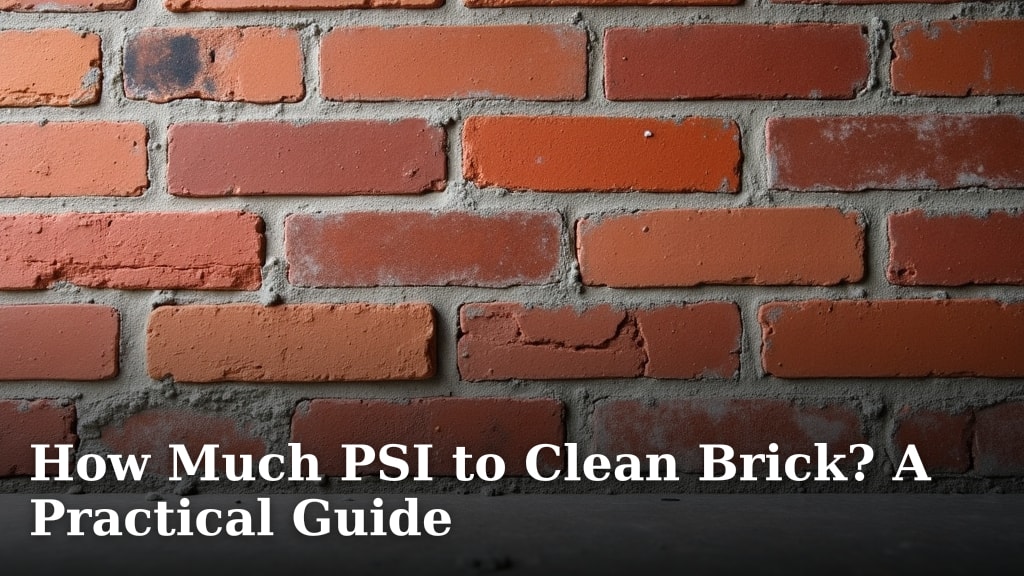
When cleaning brick, you’ll want to use a pressure that is gentle enough not to damage the mortar. For most brick surfaces, a pressure between 1200 and 1500 PSI is considered safe and effective. Using too much pressure can easily erode the soft mortar between bricks, leading to costly repairs.
Choosing the right PSI is key to a successful brick cleaning project. Too little pressure won’t lift dirt and grime, while too much can cause irreparable damage. We’ve researched the best practices to help you achieve a clean brick surface without causing harm.
- Start Low: Always begin with the lowest effective PSI.
- Test First: Test your pressure washer in an inconspicuous area.
- Nozzle Choice Matters: Wider fan nozzles are gentler.
- Mortar is Fragile: Protect your mortar joints from high pressure.
- Consider Chemical Cleaners: Sometimes chemicals help reduce necessary pressure.
Let’s walk through exactly how to find the right PSI for your brick cleaning project, step by step.
Determining the Right Pressure for Cleaning Your Bricks
So, you’ve decided to tackle that brick cleaning project. Great choice! Clean brick can seriously boost your home’s curb appeal. But before you fire up that pressure washer, you need to know the right PSI level. Too much pressure is like using a jackhammer to dust a bookshelf – it’s just too much!
We’ve researched this extensively, and the general consensus is clear: brick and its mortar are surprisingly delicate. Many sources, including architectural restoration guides, stress the importance of low pressure. Think of it like this: you’re not trying to blast away the brick itself, just the grime that’s accumulated over time. For most residential brick, a PSI range of 1200 to 1500 is usually the sweet spot.
Why PSI Matters So Much for Brick
Your brick’s biggest enemy when pressure washing is usually the mortar. Mortar is the cement-like material holding your bricks together. It’s typically softer than the brick itself. When you apply too much pressure, the high-pressure water stream can easily chip away at the mortar. This can lead to crumbling and even structural weakness over time.
Think about an old brick building. You often see weathered mortar, right? That’s natural aging. But excessive pressure washing can accelerate this damage significantly. Many masonry experts recommend treating old or historic brick with even greater care. Sometimes, even 500 PSI can be too much for very old, soft mortar.
What PSI Range is Generally Safe?
Based on our findings, here’s a general breakdown of PSI levels and their suitability for brick cleaning:
| PSI Range | Suitability for Brick | Potential Risks |
|---|---|---|
| Below 500 PSI | Very Gentle. Good for delicate surfaces, but may not remove stubborn dirt. | Ineffective for tough grime. |
| 500 – 1000 PSI | Gentle to Moderate. Often suitable for softer bricks or lightly soiled surfaces. | May require multiple passes. Risk of mortar damage if held too close. |
| 1000 – 1500 PSI | Moderate. This is the recommended range for most standard brick cleaning. | Can damage soft mortar if not careful. Always test first. |
| 1500 – 2000 PSI | High. Generally too strong for most brick. Use with extreme caution. | High risk of mortar erosion and surface damage to brick. |
| Above 2000 PSI | Very High. Avoid using this on brick. | Guaranteed to cause significant damage to mortar and potentially brick faces. |
As you can see, the 1000-1500 PSI range is often cited as the most effective and safest bet. We found that many professional cleaners stick within this range to prevent callbacks for damage.
The Importance of Your Pressure Washer’s Nozzle
The PSI setting on your pressure washer is only part of the story. The nozzle you choose plays an equally important role in how the water impacts the brick surface. Think of nozzles like the tip of a garden hose – a narrow stream is powerful, but a wide spray is more spread out.
Understanding Nozzle Types and Their Impact
Pressure washer nozzles are typically color-coded and have different spray angles. Here’s a quick rundown:
- Red (0-degree): A pinpoint stream. Never use this on brick. It’s like a laser beam and will absolutely etch and damage surfaces.
- Yellow (15-degree): A narrow fan. Still very concentrated. Use with extreme caution, if at all, on brick.
- Green (25-degree): A wider fan. This is often a good starting point for brick. It spreads the pressure out.
- White (40-degree): A very wide fan. This is usually the safest nozzle for brick cleaning. It distributes the pressure over a larger area.
- Black (Soap nozzle): This nozzle has very low pressure and is for applying cleaning solutions.
For brick cleaning, you generally want to stick with the wider fan nozzles – think green (25-degree) or, preferably, white (40-degree). These nozzles reduce the impact force on any single point. Always choose the widest fan nozzle that effectively removes the dirt.
Distance is Your Friend
Even with the right PSI and nozzle, the distance between the nozzle and the brick matters. Holding the wand too close concentrates the water’s force. We found that maintaining a distance of at least 12-18 inches is usually recommended. Experiment to find the sweet spot where dirt lifts without seeming to strain the mortar.
Testing Your Pressure Washer Settings
This is perhaps the most critical step you can take. Before you commit to cleaning an entire wall, you absolutely must test your settings. Finding the right balance requires a little bit of trial and error.
Where and How to Test
Pick an inconspicuous area of your brick wall. This could be a spot around the back of the house, near a downspout, or any area that isn’t immediately visible. Start with your lowest PSI setting and your widest fan nozzle (likely white, 40-degree).
Spray a small section. Observe the results. Is the dirt lifting? Does the mortar look undisturbed? If not, you can try two things:
- Increase the PSI slightly (perhaps by 100-200 PSI) while keeping the same nozzle and distance.
- Move the nozzle closer to the brick surface by a few inches.
If you’re still not getting clean results, you might need to consider a different nozzle or, more likely, a cleaning solution to help break down the grime. We found that sometimes, the brick is just too soiled for water alone to do the job effectively, no matter the pressure.
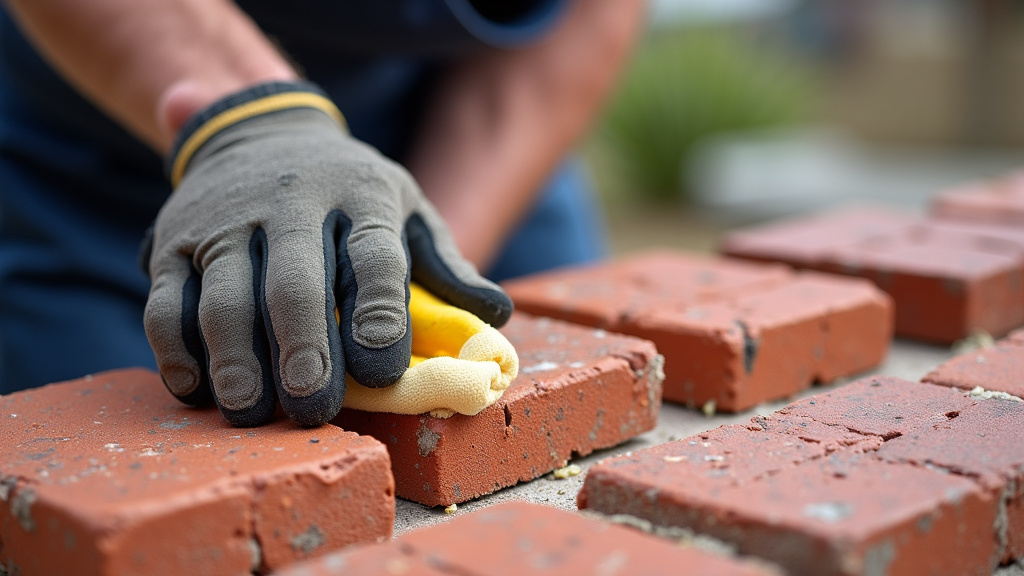
When to Consider Chemical Cleaners
Sometimes, no matter how much pressure you apply (within safe limits, of course!), the dirt just won’t budge. That’s where specialized brick cleaning solutions come in. These cleaners are formulated to break down common brick grime like mold, mildew, algae, and general atmospheric pollution.
How Cleaners Reduce Required PSI
Using the right cleaner can significantly reduce the amount of pressure you need. The chemical does the hard work of loosening the dirt, allowing you to rinse it away more gently. This is a much safer approach than trying to blast away stubborn stains with high PSI.
When using cleaning solutions, always follow the manufacturer’s instructions. Many require dilution and a specific dwell time on the surface. After the cleaner has worked, you’ll typically use a lower pressure wash to rinse away both the loosened dirt and the cleaner residue.
A Quick Checklist for Safe Brick Cleaning
Here’s a handy checklist to keep you on track for a successful and safe brick cleaning job:
- Know your brick: Is it old, soft, or relatively new and hard?
- Start low: Always begin with the lowest PSI and widest nozzle.
- Test in a hidden spot: Never skip this crucial step.
- Maintain distance: Keep the nozzle at least 12-18 inches away.
- Watch the mortar: If it’s eroding, back off immediately.
- Consider chemicals: They can reduce the need for high pressure.
Conclusion
Cleaning your brick doesn’t have to be a battle. By understanding the relationship between PSI, nozzle choice, and distance, you can achieve a clean look safely. Remember, your brick’s mortar is its weak point. We’ve researched best practices, and found that sticking to a PSI range of 1000-1500, using wider fan nozzles, and testing in an inconspicuous area are your safest bets. If you’re still struggling with stubborn grime, consider a specialized cleaner to reduce the pressure needed. Ready to give your home’s brick a fresh appearance? Start by identifying a small, hidden spot to begin your tests.
Frequently Asked Questions
What is the absolute maximum PSI I should ever use on brick?
We found that anything above 1500 PSI carries a significant risk of mortar damage. For most standard brick cleaning, the 1000-1500 PSI range is the recommended maximum. Always err on the side of caution and start much lower.
Can I use a pressure washer on very old brick buildings?
Cleaning very old brick requires extreme care. We’ve seen recommendations suggesting as low as 500 PSI for fragile, historic mortar. Always test meticulously in a hidden spot and consider consulting a masonry professional if you’re unsure.
Will a wider nozzle always be safe for brick?
While wider fan nozzles (like 40-degree) are much safer, they aren’t a foolproof guarantee. You still need to maintain proper distance and use an appropriate PSI setting. We found that combining a wide nozzle with too much pressure or holding it too close can still cause damage.
How do I know if I’m using too much pressure on the mortar?
Watch for signs of erosion or material being blasted away from the mortar joints. If you see the mortar crumbling, sand-like particles washing away, or deep gouges appearing, you are definitely using too much pressure. Reduce your PSI or increase your distance immediately.
Should I pressure wash brick right after applying a cleaning solution?
No, typically you should not. Most brick cleaners require a specific ‘dwell time’ to break down grime before rinsing. Always follow the manufacturer’s instructions for the best results and to ensure safe pressure washing afterward.